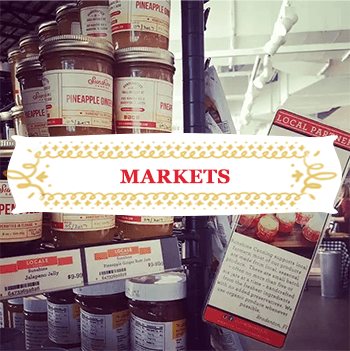
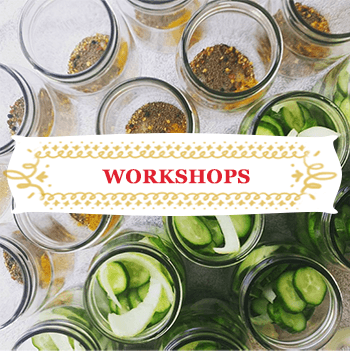
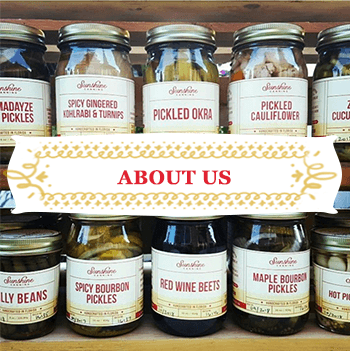
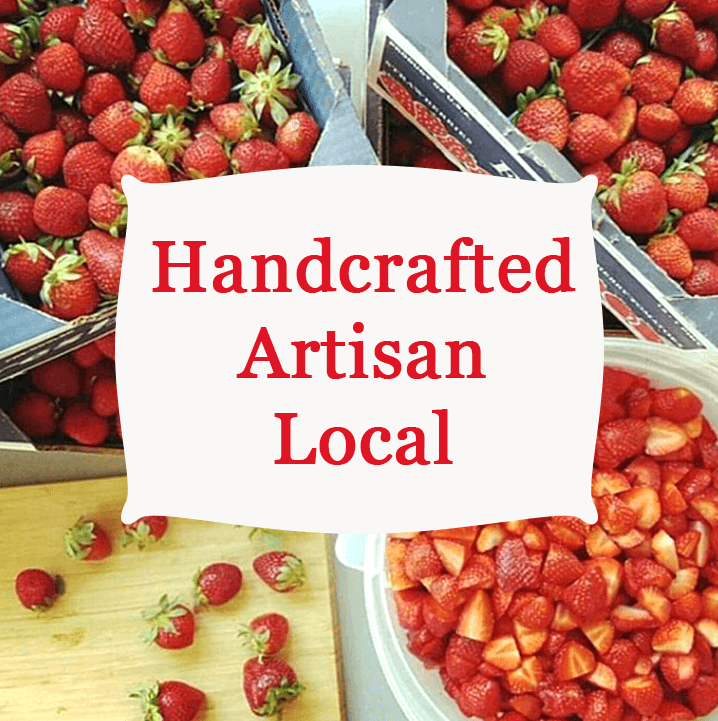
March 28, 2013
by Lisa
0 comments

End of Season

I can’t believe it is almost April, which means Florida’s season is coming to an end soon! I have a couple of classes set up for the month out at Crowley Folk Schoolhomemade pickles and pressure canning. And I have a few openings for private canning parties but they are filling up quickly. I think May will be my last month of teaching until Fall, so if you’re interested in learning to can, now is your chance!  I’ll be spending my summer with my little ones and also getting this blog organized! I finally bought a fancy camera and will hopefully learn to use it :)   In the meantime, the Sunshine Canning facebook page is best for keeping up to date on events and classes.  And if you ever have any questions, please don’t hesitate to contact me!

March 24, 2013
by Lisa
0 comments

Strawberry Lemonade Concentrate

I recently took the kids strawberry picking out at Eden Farm and, as always, we came home with far more berries than we could eat. Usually I would turn the extras into jam or freeze them by the handful for smoothies, but I wanted to try something different. A friend of ours had given us a huge bag of lemons and my family is a big fan of lemonade, so why not strawberry lemonade? And since I am always on the lookout for reasons to get my kettle fired up, why not can it? This is a lovely treat for a hot day – a concentrated homemade “mix” ready to go at a moment’s notice. This recipe is from Ball’s Complete Book of Home Preserving and it is definitely a keeper!

strawberry lemon

Ingredients:

6 cups strawberries, cleaned and hulled

4 cups freshly squeezed lemon juice

6 cups sugar

Yield ~ 6 pints

1) Prepare two-piece canning lids according to manufacturer’s directions.

2) Purée strawberries in a blender or food processor until smooth. Squeeze lemons to extract juice.

078

042061

{{ I really wanted to just post 50 pictures of lemon juicing. I have my grandparents’ old school Juice-O-Mat and love that thing!}}

3) Add strawberry purée, lemon juice, and sugar to a large pot, stirring to combine. Heat to 190° F over medium-high heat, stirring occasionally. Do not boil.

039

4) Remove from heat and skim off foam. Ladle into hot jars leaving 1/4 inch headspace.

5) Wipe rims of jars with a dampened clean paper towel; adjust two-piece metal canning lids. Process in a Boiling Water Canner for 15 minutes.


To reconstitute, start with 1 cup of concentrate to 1 cup of water (or ginger ale or tonic water or vodka ) and adjust for taste. We like a 1:2 ratio over here. With water! At least for the kids…

vc


PS – Don’t let those lemon peels go to waste! Candy the peels, save the zest, add vinegar and make cleaning products – your options are endless!


March 8, 2013
by Lisa
0 comments

Mimosa Jelly

Since I so enjoyed the mimosas at the private canning party last month, I decided that what I really needed was a mimosa jelly! I looked through a few recipes online and tried out a couple of variations, but couldn’t seem to find on that gelled well. Luckily, being a Floridian, I have an awful lot of fresh orange juice at my disposal and I think I finally hit the mark! This should work equally well with bottled orange juice if you don’t have your very own citrus grove in your backyard :) Also, there is no mashing or chopping of fruit in jellies, so this all goes pretty quickly!

ingredients

Ingredients:

2 cups champagne

1 cup orange juice

2 T lemon juice

4 cups sugar

1 box of powdered pectin

Yield ~ 5 half pints

1) Sterilize canning jars and prepare two-piece canning lids according to manufacturer’s directions.

2) Bring champagne, orange juice, lemon juice, and pectin to a boil.

bubbles

3) Add sugar, return to a full rolling boil, and boil hard for one minute.

4) Remove from heat, skim foam (and there’s A LOT thanks to all that fizzy champagne goodness!), and ladle into sterilized jars leaving 1/4 inch headspace.

026

029

5) Wipe rims of jars with a dampened clean paper towel; adjust two-piece metal canning lids. Process in a Boiling Water Canner for 5 minutes.

092


February 15, 2013
by Lisa
0 comments

Mixed Berry Jam

A couple of weeks ago, I taught a private canning class for a lovely group of women in Sarasota. They wanted to learn about boiling water bath canning and asked to make a jam and something pickled. Now the easiest jam to teach at this time of year is obviously strawberry, but this group wanted something a little different so I headed to the market to see what looked good.  Wow – have you seen all of the beautiful fresh berries at the farm stands lately?!  I found gorgeous organic blueberries at a decent price and then came across some fresh blackberries as well. After a little experimenting in the kitchen, I had an easy mixed berry jam ready for the class. While it’s a little more work than making jam from a single fruit, the results were well worth it. And really, homemade jam is just about the most lovely thing you can put in a jar! Whether you spread it on toast, give it as gifts, or just admire a shelf of it in your kitchen (I know I can’t be the only one who does this!), knowing how to transform fruit into bright little jars of happiness is a great skill to have!

Ingredients:

6 cups prepared, crushed fruit (about 3 pints strawberries, 1 ½ pints blueberries, 1 pint blackberries)

4 ½ cups sugar

1 box of low or no sugar pectin

Yield ~ 8 half pints

1) Sterilize canning jars and prepare two-piece canning lids according to manufacturer’s directions.

2) Sort and wash fully ripe berries; remove stems and caps. Crush strawberries until you have exactly 3 cups. Crush blueberries and blackberries until you have 1 ½ cups EACH.

DSC_0257DSC_0265

3) Put fruit into a large pot. In a separate bowl, mix ¼ cup of the sugar with the pectin, add to fruit on stovetop.

4) Place pot on high heat and, stirring constantly, bring quickly to a full boil with bubbles over the entire surface. Add remaining sugar, return to full boil, and boil hard for 1 minute.

5) Remove from heat, skim foam, and ladle into sterilized jars leaving 1/4 inch headspace.

DSC_0341

6) Wipe rims of jars with a dampened clean paper towel; adjust two-piece metal canning lids. Process in a Boiling Water Canner for 5 minutes.


Yield: About 8 half-pint jars

DSC_0405


Photos courtesy of Emily Eppinger.

February 6, 2013
by Lisa
0 comments

Chile Salsa

tomatoes on vine

kids

(heehee, look how cold it was!)

Have you ever tried preserving tomatoes? Few canning projects are as rewarding as jar upon jar filled with bright red goodness. Whether you choose to can them whole or crushed, as salsa or pasta sauce, it’s immensely satisfying to know that dinner from scratch is waiting for you in your pantry for many months ahead.  A few times a year, Hunsader Farm in Manatee County opens up their U Pick fields and lets the public fill bags and buckets with hundreds of pounds of tomatoes at a ridiculously low price. I normally go in May (because it’s just not labor intensive enough unless it’s 90° out!), but I decided to take advantage of a late winter crop this year and make a few jars of salsa. So as opposed to the five 5 gallon buckets I normally fill, I only filled three – and for a whopping $6 and hour of picking, I came home with around 80 pounds of gorgeously fresh tomatoes.

Do you know what 15 gallons of tomatoes looks like? It’s a little crazy.

$10 :)80 pounds

Why I thought I needed 80 pounds worth of fruit for “a few jars” of salsa, I do not know. I will say, once you’re out in the field, it is impossible to stop picking until your buckets are filled. My friend Becky jokes that her hunter gatherer instinct takes over and I’d have to agree. So I came home and made 60 (yes, SIXTY) jars of salsa in the hopes that it will get my family through the coming year. While I don’t really recommend that anyone take on sixty jars of salsa over the weekend, the Hunsader deal is a great one and putting up some of the bounty for the months ahead can make for a fun afternoon.


Chile Salsa (from the USDA Complete Guide to Home Canning)

10 cups peeled, chopped tomatoes (about 8 ½ pounds)

6 cups seeded, chopped chile peppers (use mixture of mild and hot peppers)

4 cups chopped onions

1 cup of vinegar (with 5% acidity)

3 tsp salt

½ tsp pepper

Yield ~ 8 pints

(prepare two-piece canning lids according to manufacturer’s directions)

1.     Chop peppers and onions

jalapenos(six cups of peppers for each batch of salsa equaled a mind boggling amount of peppers!)

2.     Wash tomatoes, score, and dip in boiling water to loosen skin. Dip in cold water to stop heat and then peel skins off. Chop tomatoes.

cut tomatoes

3.     Combine all ingredients in a large pan and heat to a boil. Simmer for 10 minutes.

salsa

4.     Fill hot salsa into hot pint jars, leaving ½ inch headspace.

5.     Remove air bubbles and wipe rims of jars with a dampened clean paper towel; adjust two-piece metal canning lids. Process in a Boiling Water Canner for 15 minutes.

chile salsa

chipsandsalsa


Be forewarned – this is a messy project! My kitchen was trashed at the end of the day and you will be amazed where you find rogue tomatoes, sometimes days after the canning is over! If you’re lucky enough to have some chickens, they’re a good way of getting rid of the many pounds of tomato waste you’ll have leftover!

chickens


Helpful tips:

*Tomatoes fall right in the middle of high acid and low acid produce, which means that you want to take care to follow all directions exactly. In particular, when a tomato recipe adds other low acid foods (such as peppers and onions), make sure your ingredients measure as specified.

*When canning tomatoes or other low acid foods, use only safe, tested recipes. The USDA Complete Guide to Home Canning is a good starting point and is available for free download online. The National Center for Home Food Preservation is another great source, as is their book So Easy to Preserve.

*You’ll notice that we did not presterilize the jars. This is because the processing time is longer than 10 minutes. However, in order to have “hot jars” as called for, I usually heat my jars up with the canner water.


Hunsader Farms is located at 5500 CR 675 in east Bradenton and can be reached at 941-331-1212. It’s a good idea to call before you go and make sure their fields are open.

February 5, 2013
by Lisa
4 Comments

private canning parties are FUN!

This past weekend, I taught a private class for a lovely group of women. Between the mimosas, the yummy snacks, and the chitchat, we managed to cover the ins and outs of boiling water bath canning :) We made a delicious mixed berry jam (which I’ll post soon!) and dilly beans (which we all agreed would be perfect with a Bloody Mary). If you’d like to learn more about hosting a private class, get in touch and we’ll see what we can set up. It’s truly a delightful way to spend a Saturday morning! For more pretty pictures and info on upcoming classes, you can find Sunshine Canning here on facebook.

These great photos are courtesy of Emily Eppinger:DSC_0196DSC_0260DSC_0257DSC_0271DSC_0277DSC_0341DSC_0405DSC_0338DSC_0335DSC_0209DSC_0376DSC_0360

January 28, 2013
by Lisa
2 Comments

pressure canning!

My lovely parents got me a pressure canner for Christmas and I finally broke it out this weekend. When it comes to low acid foods, I don’t mess around, so all recipes used were from the Ball Blue Book and the USDA guide. Potatoes (which are awesome thrown in the skillet with some salt and pepper), green beans with lemon peel, and brown sugar / orange juice glazed carrots. Yum!

carrots

green beans

beans carrots potatoes

092

January 20, 2013
by Lisa
1 Comment

Blueberry Jam

I had planned on making yet another batch of my family’s favorite strawberry vanilla jam this weekend, but Friday morning it was too brisk for this Florida girl to venture out to the farm. Luckily my daughter had insisted on quite a few pints of blueberries at our recent market trip, so blueberry jam it is! Word of warning – this is by far the most vividly hued preserve I make and it usually leaves my enameled pot somewhat stained.

blue jam

Also, I put the cinnamon down as optional, but I love the subtle flavor it adds!

Ingredients:

2 1/2 pints of blueberries

1 T lemon juice

5 1/2 cups sugar

3/4 cup water

1 box powdered pectin

optional – 1/2 t cinnamon

Yield ~ 5 half pints

1) Sterilize canning jars and prepare two-piece canning lids according to manufacturer’s directions.

2) Measure sugar and set aside.

3) Crush blueberries a layer at a time in pot. I just use a potato masher for it.

4) Add lemon juice, water, and cinnamon (if you’re using it).

5) Stir in pectin and bring to a full rolling boil, stirring frequently.

blue

6) Add sugar, return to full boil, and boil hard for one minute.

full boil

7) Remove from heat, skim foam, and ladle into sterilized jars leaving 1/4 inch headspace.

8) Wipe rims of jars with a dampened clean paper towel; adjust two-piece metal canning lids. Process in a Boiling Water Canner for 5 minutes.


Note – another nice combo is to add lavender. To do this, I measure out the sugar the night before and bury about 2-3 T in a sachet deep in the middle of the sugar. When it’s time to make the jam, I remove the sachet, boil about 1/2 cup of water, and steep the lavender for about ten minutes. Strain and use this “tea” to make up some of the 3/4 cup of water called for in the recipe. Yum! I always omit the cinnamon if I’m doing this, but have been known to add vanilla. Because, really, you can’t go wrong with vanilla!